Serving a Static Website using AWS S3


If you want to serve an SPA (single-page application) using an S3 bucket, you can follow these steps.
1 - Create the Bucket
Go to your S3 Bucket and create the bucket where you will store your static files. Pay attention to one detail: If you are planning to point a DNS to this site, you must name the bucket equal to your DNS register. In my case, I want to point: giullianosiviero.com.

Next, you must configure your S3 bucket to be somehow available for public access. Uncheck the last two options in the "Block Public Access settings for this bucket" section.
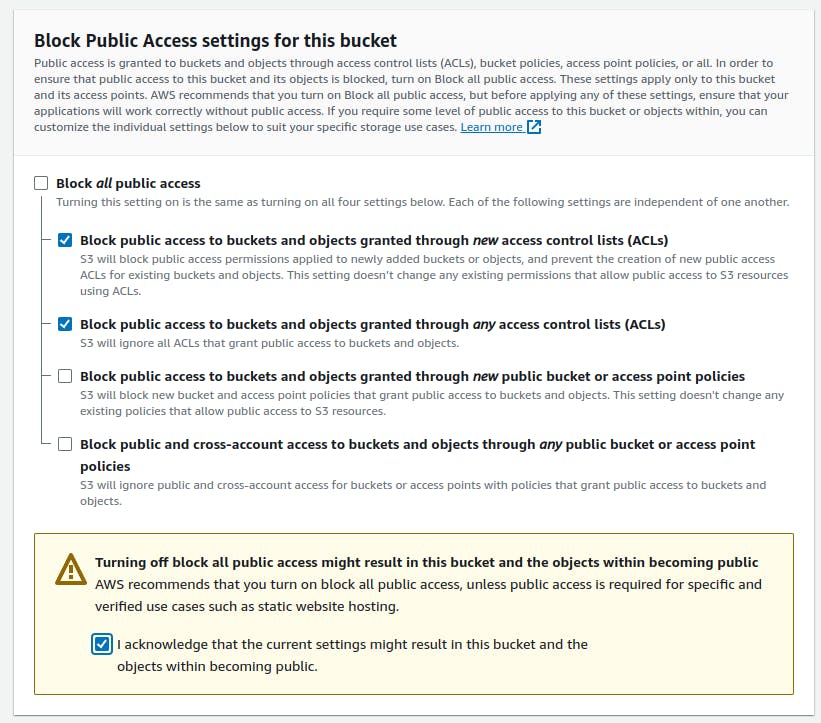
That's pretty much it for creating your S3 Bucket. Still, there are a couple more configurations.
Editing Access
Open your S3 Bucket configurations go to the "Permissions" tab in the "Bucket Policy" section, and copy the following JSON configuration:
{
    "Version": "2012-10-17",
    "Statement": [
        {
            "Sid": "Statement1",
            "Effect": "Allow",
            "Principal": "*",
            "Action": "s3:GetObject",
            "Resource": "arn:aws:s3:::www.giullianosiviero.com/*"
        }
    ]
}
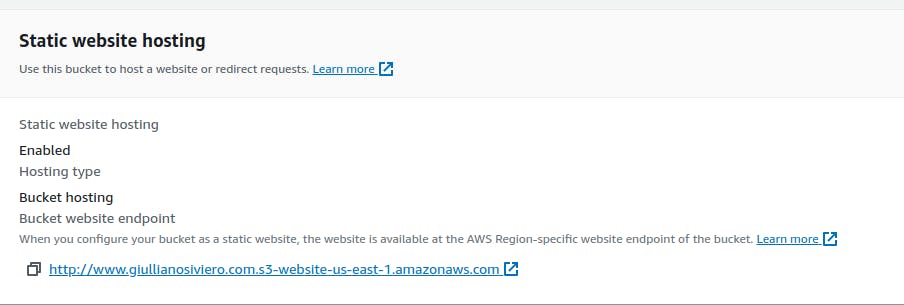
Finally, go to the last section of the "Properties" tab. In this section, you can enable "Static Web Site Hosting" and set the index and error documents.
Uploading Files
Now that your bucket is ready, you can upload the files you want to serve. And Voila your Static Web Site is online. But wait how can I access it? You can find a public URL to access your static website at the bottom of the "Properties" tab in the "Static website hosting" section.
DNS Configuration
Here I will only explain how to configure a DNS to point to your static website on AWS Route 53. If you manage your domains elsewhere, I am sharing another article that can help you out with that.
In your Route 53 Panel go to the Hosted Zone that you will use, click in "Create Record" and select the simple routing option.
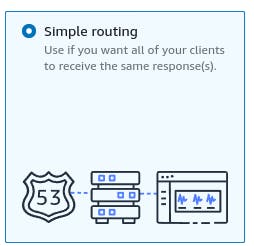
Click on "Define simple Record", and start filling up the form. Again, your DNS record must match your S3 Bucket's name. Otherwise, you won´t be able to find your S3 alias. After filling up the record, select the "Record type" option to be a "A", and select "Alias to S3 endpoint" in the "Value/Route traffic to". Another field will show up with a prompt to select the region where your S3 Bucket is hosted, go ahead and select it, in my case is us-east-1. Finally, you can select your S3 endpoint in the last field.

Finish your Record creation, and wait a couple of minutes for the DNS servers to propagate your changes. And that's it, you can access your website hosted on an S3 Bucket through your domain.
If your domain is not registered through AWS Route 53 you can check this article:
https://www.freecodecamp.org/news/cjn-how-to-point-your-domain-to-s3-website-bucket/ .
I hope you enjoyed the article and maybe in the next one I will add AWS Cloud Front to this setup for faster access. Make sure to subscribe to this Blog.